Farm Update #2

Planning, Prepping, and Planting
Bonjour les amis! Continuing the update from Sunday, since this is the first time our garden will be used in the last 30 years, there was a lot of prep work to get done. After scoping out the land (read about that in Update #1) and organizing our supplies, we started with giving some life back to the raspberry bushes that had been planted years ago and afterward were essentially neglected. As we got rid of all the weeds and tall grass surrounding the bushes, the bees came and started pollinating the raspberry buds while we were working! It was beautiful to work around them and hear their calm buzzing. We also had to start a compost pile, setup a nettle manure repository, plow the beds, prep the beds, weed, and finally plant our herbs!
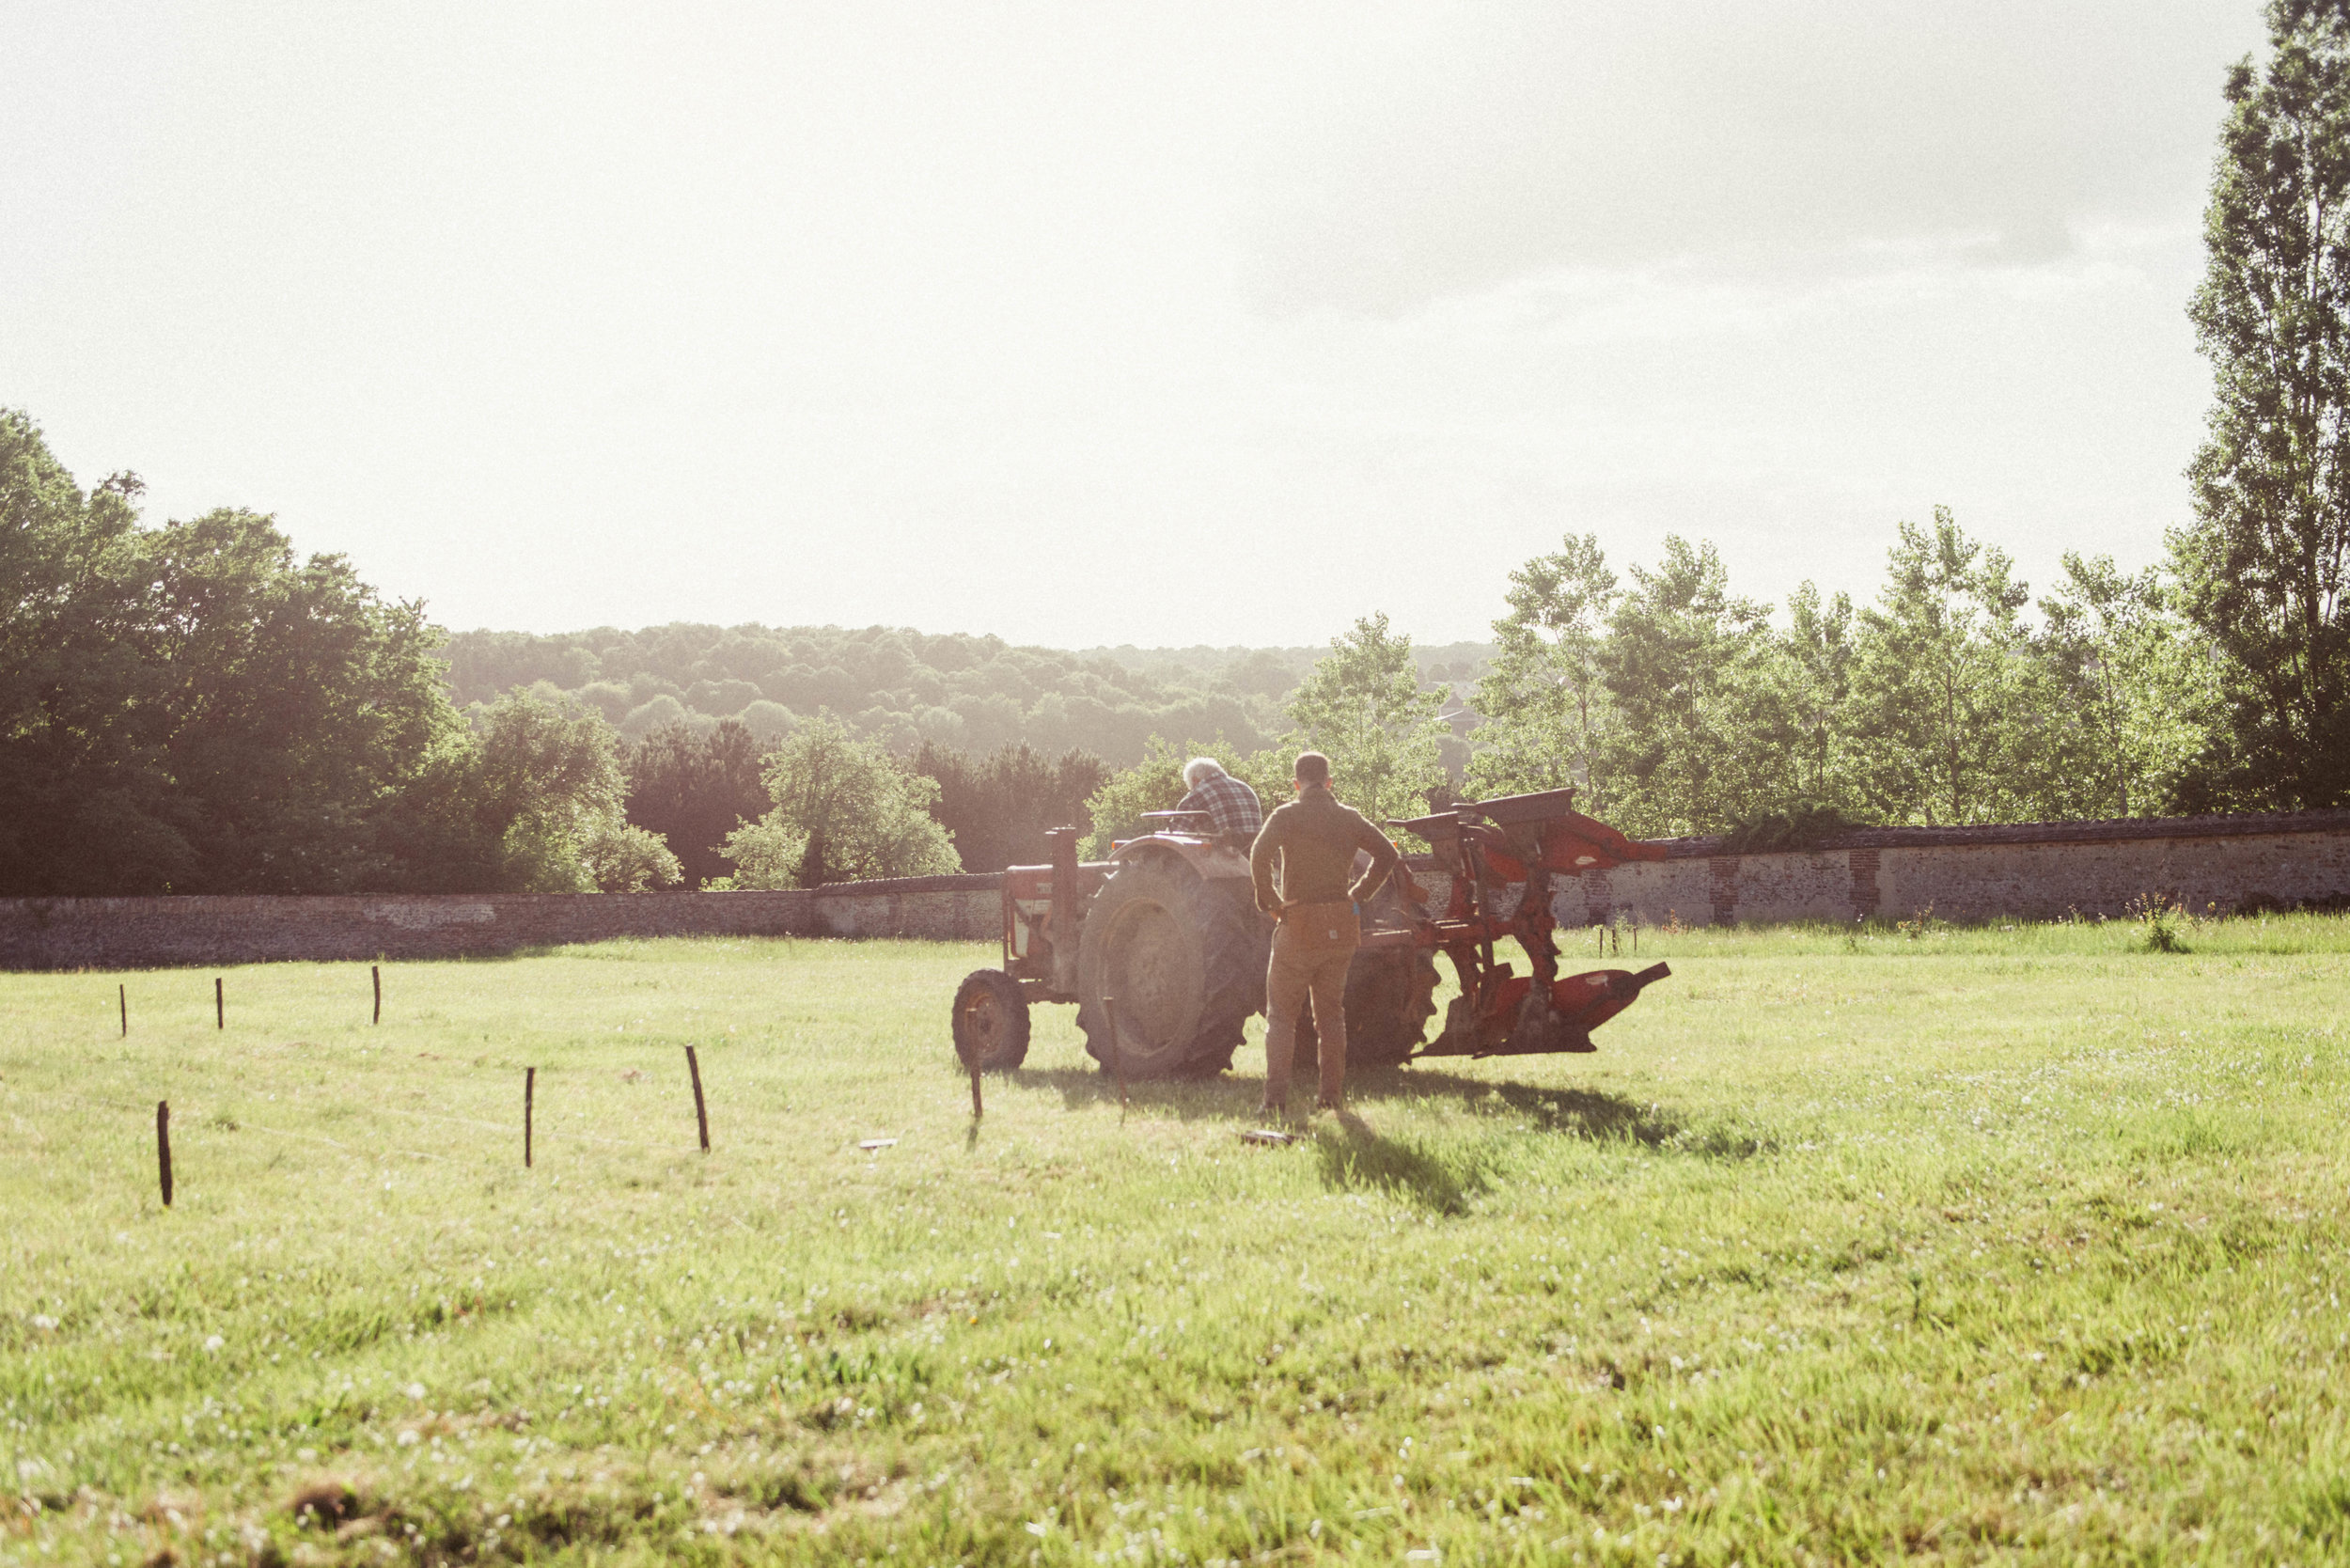
Lining up the plow to dig up the beds
Next up was the nettle manure preparation. Nettle “manure” is a technique where you use stinging nettles to create a natural and highly effective fertilizer and pesticide. Nettle is a truly amazing plant for which I’ll dedicate a solo feature on the Journal, but for this purpose the process was fairly straightforward: we gathered a big heap of nettles (we kept the tops for a spinach-like cream of nettle for dinner) and filled a barrel half-way up with the plant material.

Preparing the "nettle manure"
Then we simply filled the barrel with rainwater, put a top on it, and now we wait 2-3 weeks while it ferments, after which we have a concentrated solution that provides nutrients to our herbs and wards off pests and predators. If you’re going to do this at home, be advised, while it ferments it really stinks… Plus, remember to dilute the final solution at a 1:10 ratio before using on your plants, otherwise its potency will burn out your botanicals.
Now came the time to determine plot placement and layout. We needed to measure the width of the lawn mower to make sure that we can mow in between the beds and keep grass and weeds to a minimum. This also gave us the parameters for the distance between the beds and width of the beds themselves.

We first used a long string to make sure that we would place the beds in a straight line from the entrance to the garden because, well, aesthetics matter! Once aligned, we put wooden stakes at the 4 corners of each of the beds to outline where we wanted the plow to go. Jean-Marc (the resident farm-hand of the property) brought the tractor ‘round and then began to plow the beds as we had outlined them.

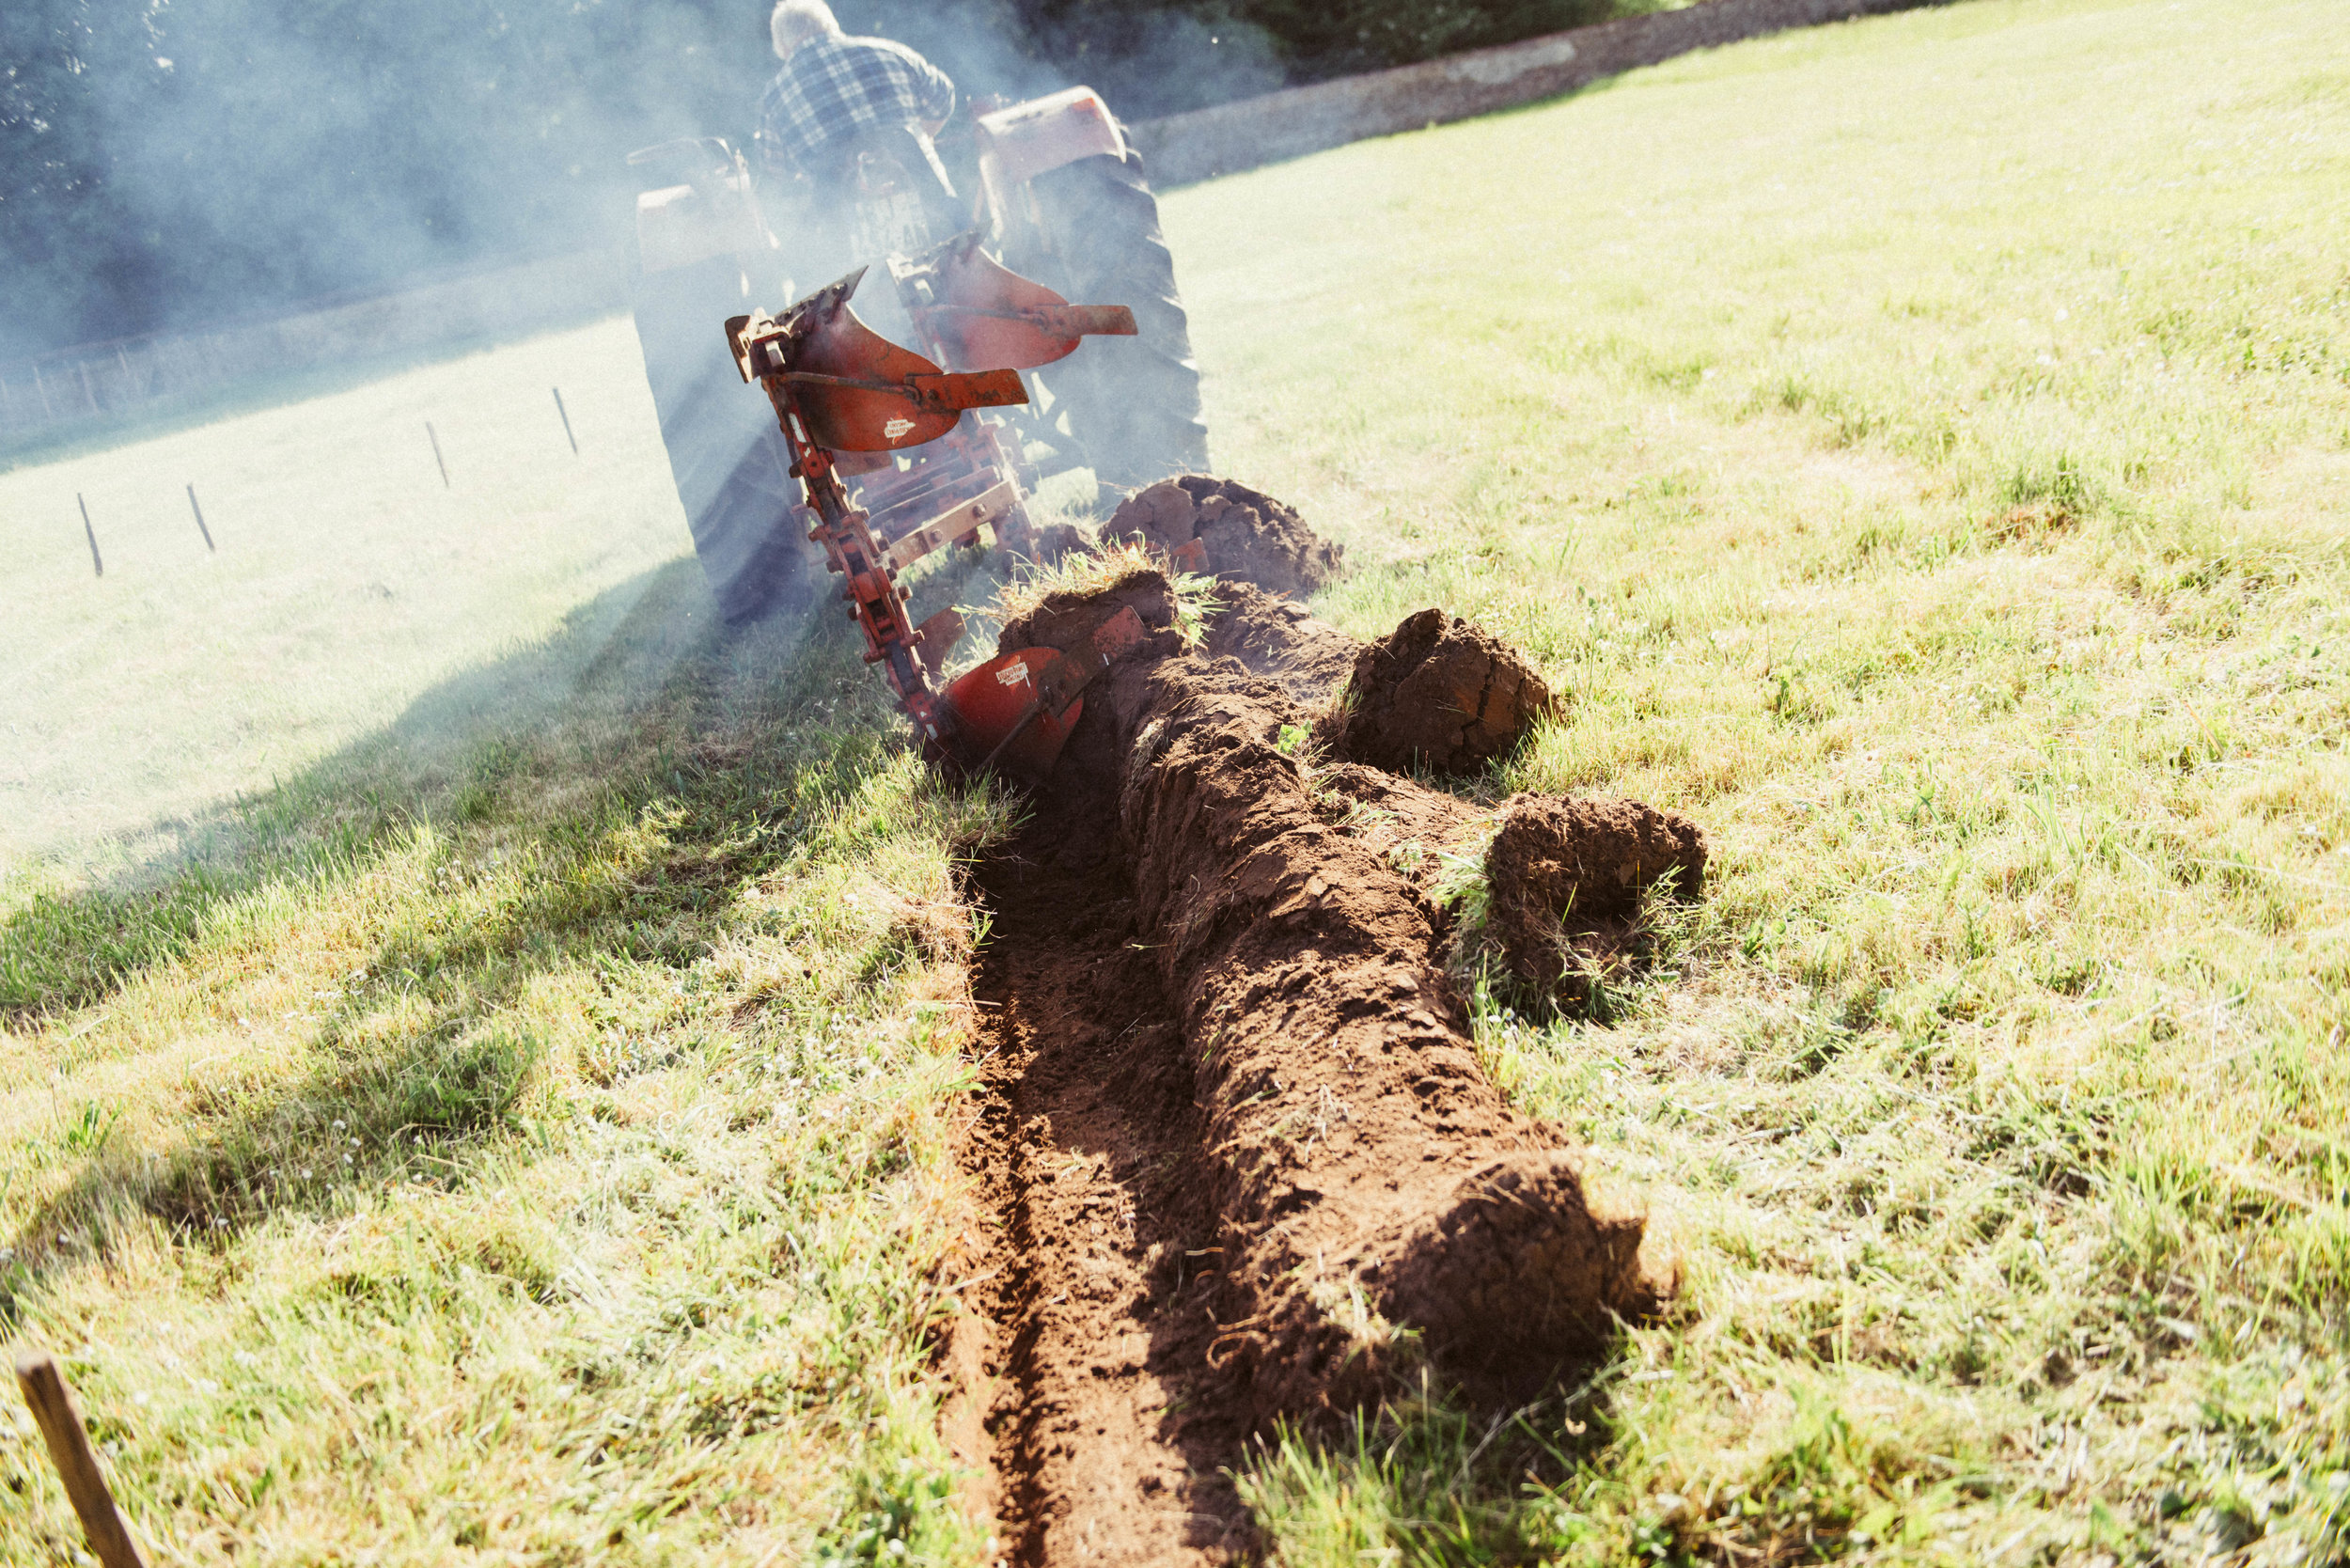
The line-up of farming tools
Quick note: we are using the tools and supplies already on the farm, which means that we are sometimes limited to the manner in which some of these tasks get done. The plowing of the beds is a perfect example of that because the plow that we used wasn’t the ideal type of plow for what we were trying to achieve. Instead of churning the earth to create ready-made beds, this plow rather sliced into the earth creating “sheets” of grass and earth that we then had to manually prepare and remove.
While labor intensive, in the long-run it probably was the best method for us because now we can worry less about weeds and grass sprouting up again between our seedlings. If we had simply churned the grass, it would have regrown much easier and faster. Plus, these sheets of grass were perfect for our compost pile! Luckily we had some friends join us and help us hack off the earth underneath the roots of the grass and weeds. The best tool for this job: the trusty machete.
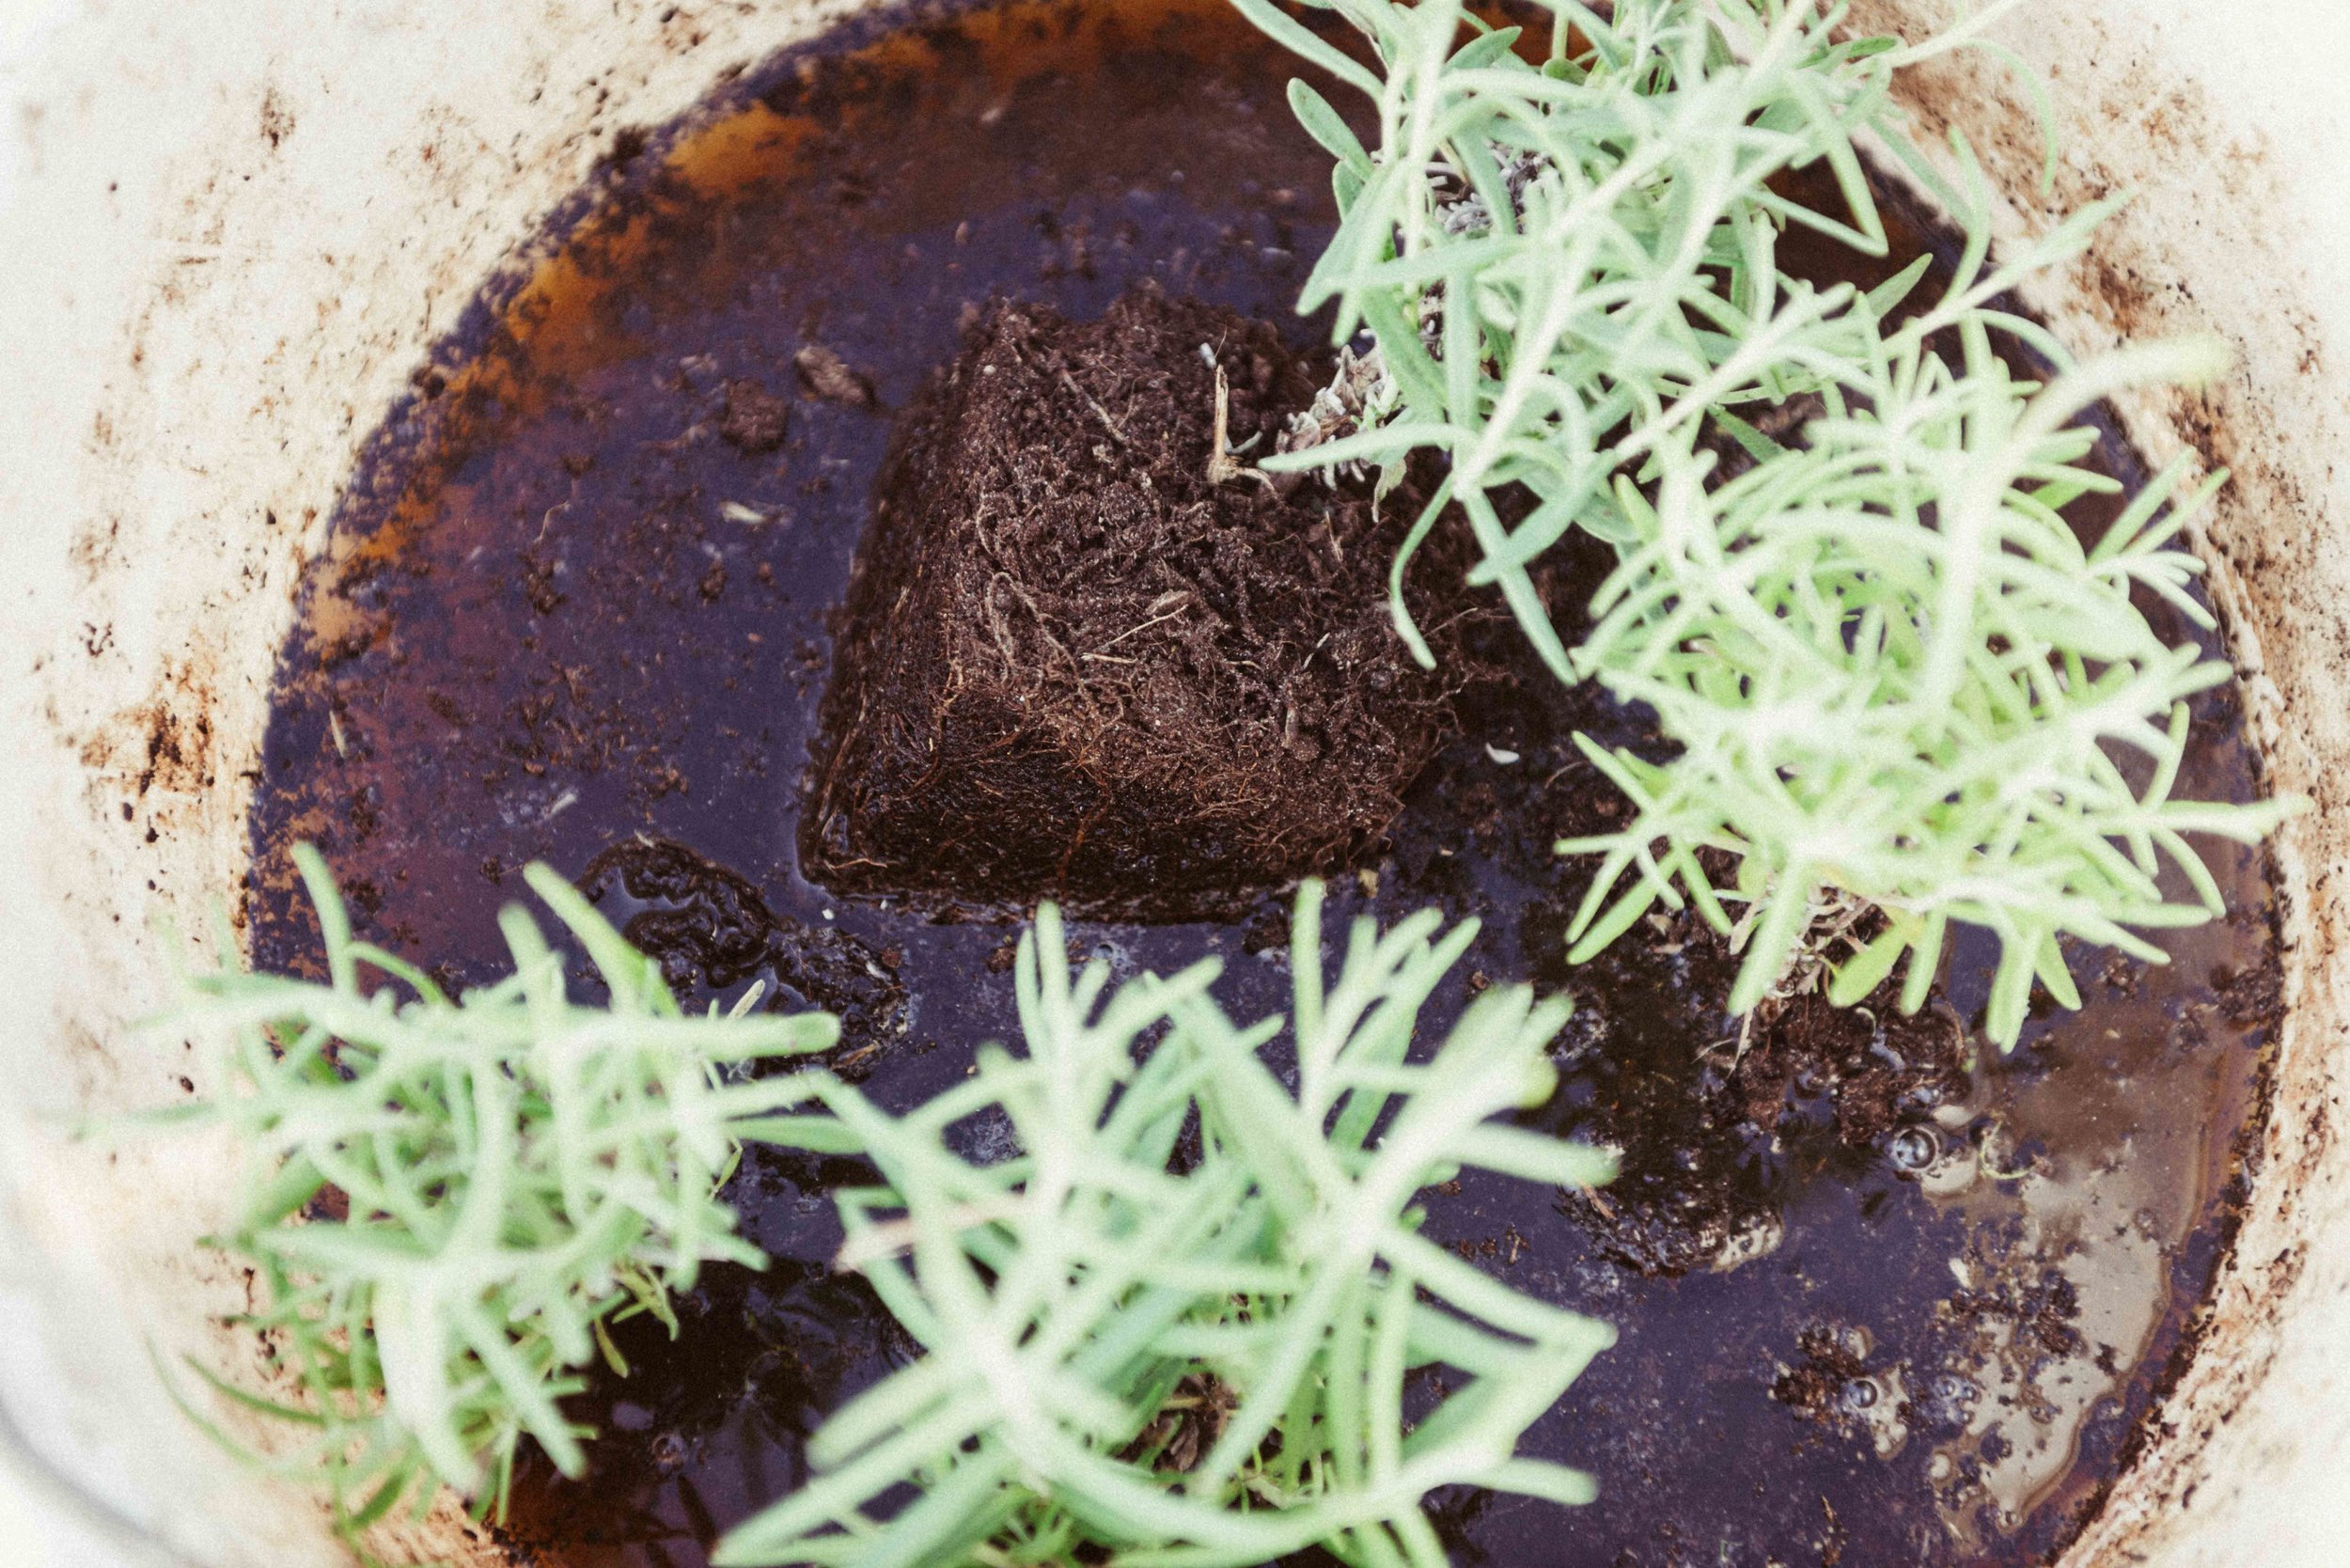
The lavender seedlings soaking up some EM solution
The purpose behind the compost pile is to create potent, fertile soil for the years to come and replenish our beds with the nutrients and minerals that will keep our botanicals healthy, powerful, and vibrant. Between each layer of uprooted grass (which you place roots-up to make sure it doesn’t continue to grow) we put rock flour and substance called EM, short for Effective Microorganisms. Basically EM is for soil what probiotics are for our guts: good bacteria that enable a healthy and active microbiome. Later, after all the grass was placed on the compost heap, we added a layer of manure covered with a blanket of freshly cut grass to top it off. Of course we also put in all our vegetable and fruit waste!
This process of cutting/scraping off the earth from the grass sheets and wheel-barrowing them over to the compost took up most of our time; it’s long and arduous. I’m surprised there isn’t a work-out class in New York that emulates this kind of farm work because man-oh-man was I sore afterward. In any case, once all the beds were prepped we were finally ready to plant!

Me, taking a quick break

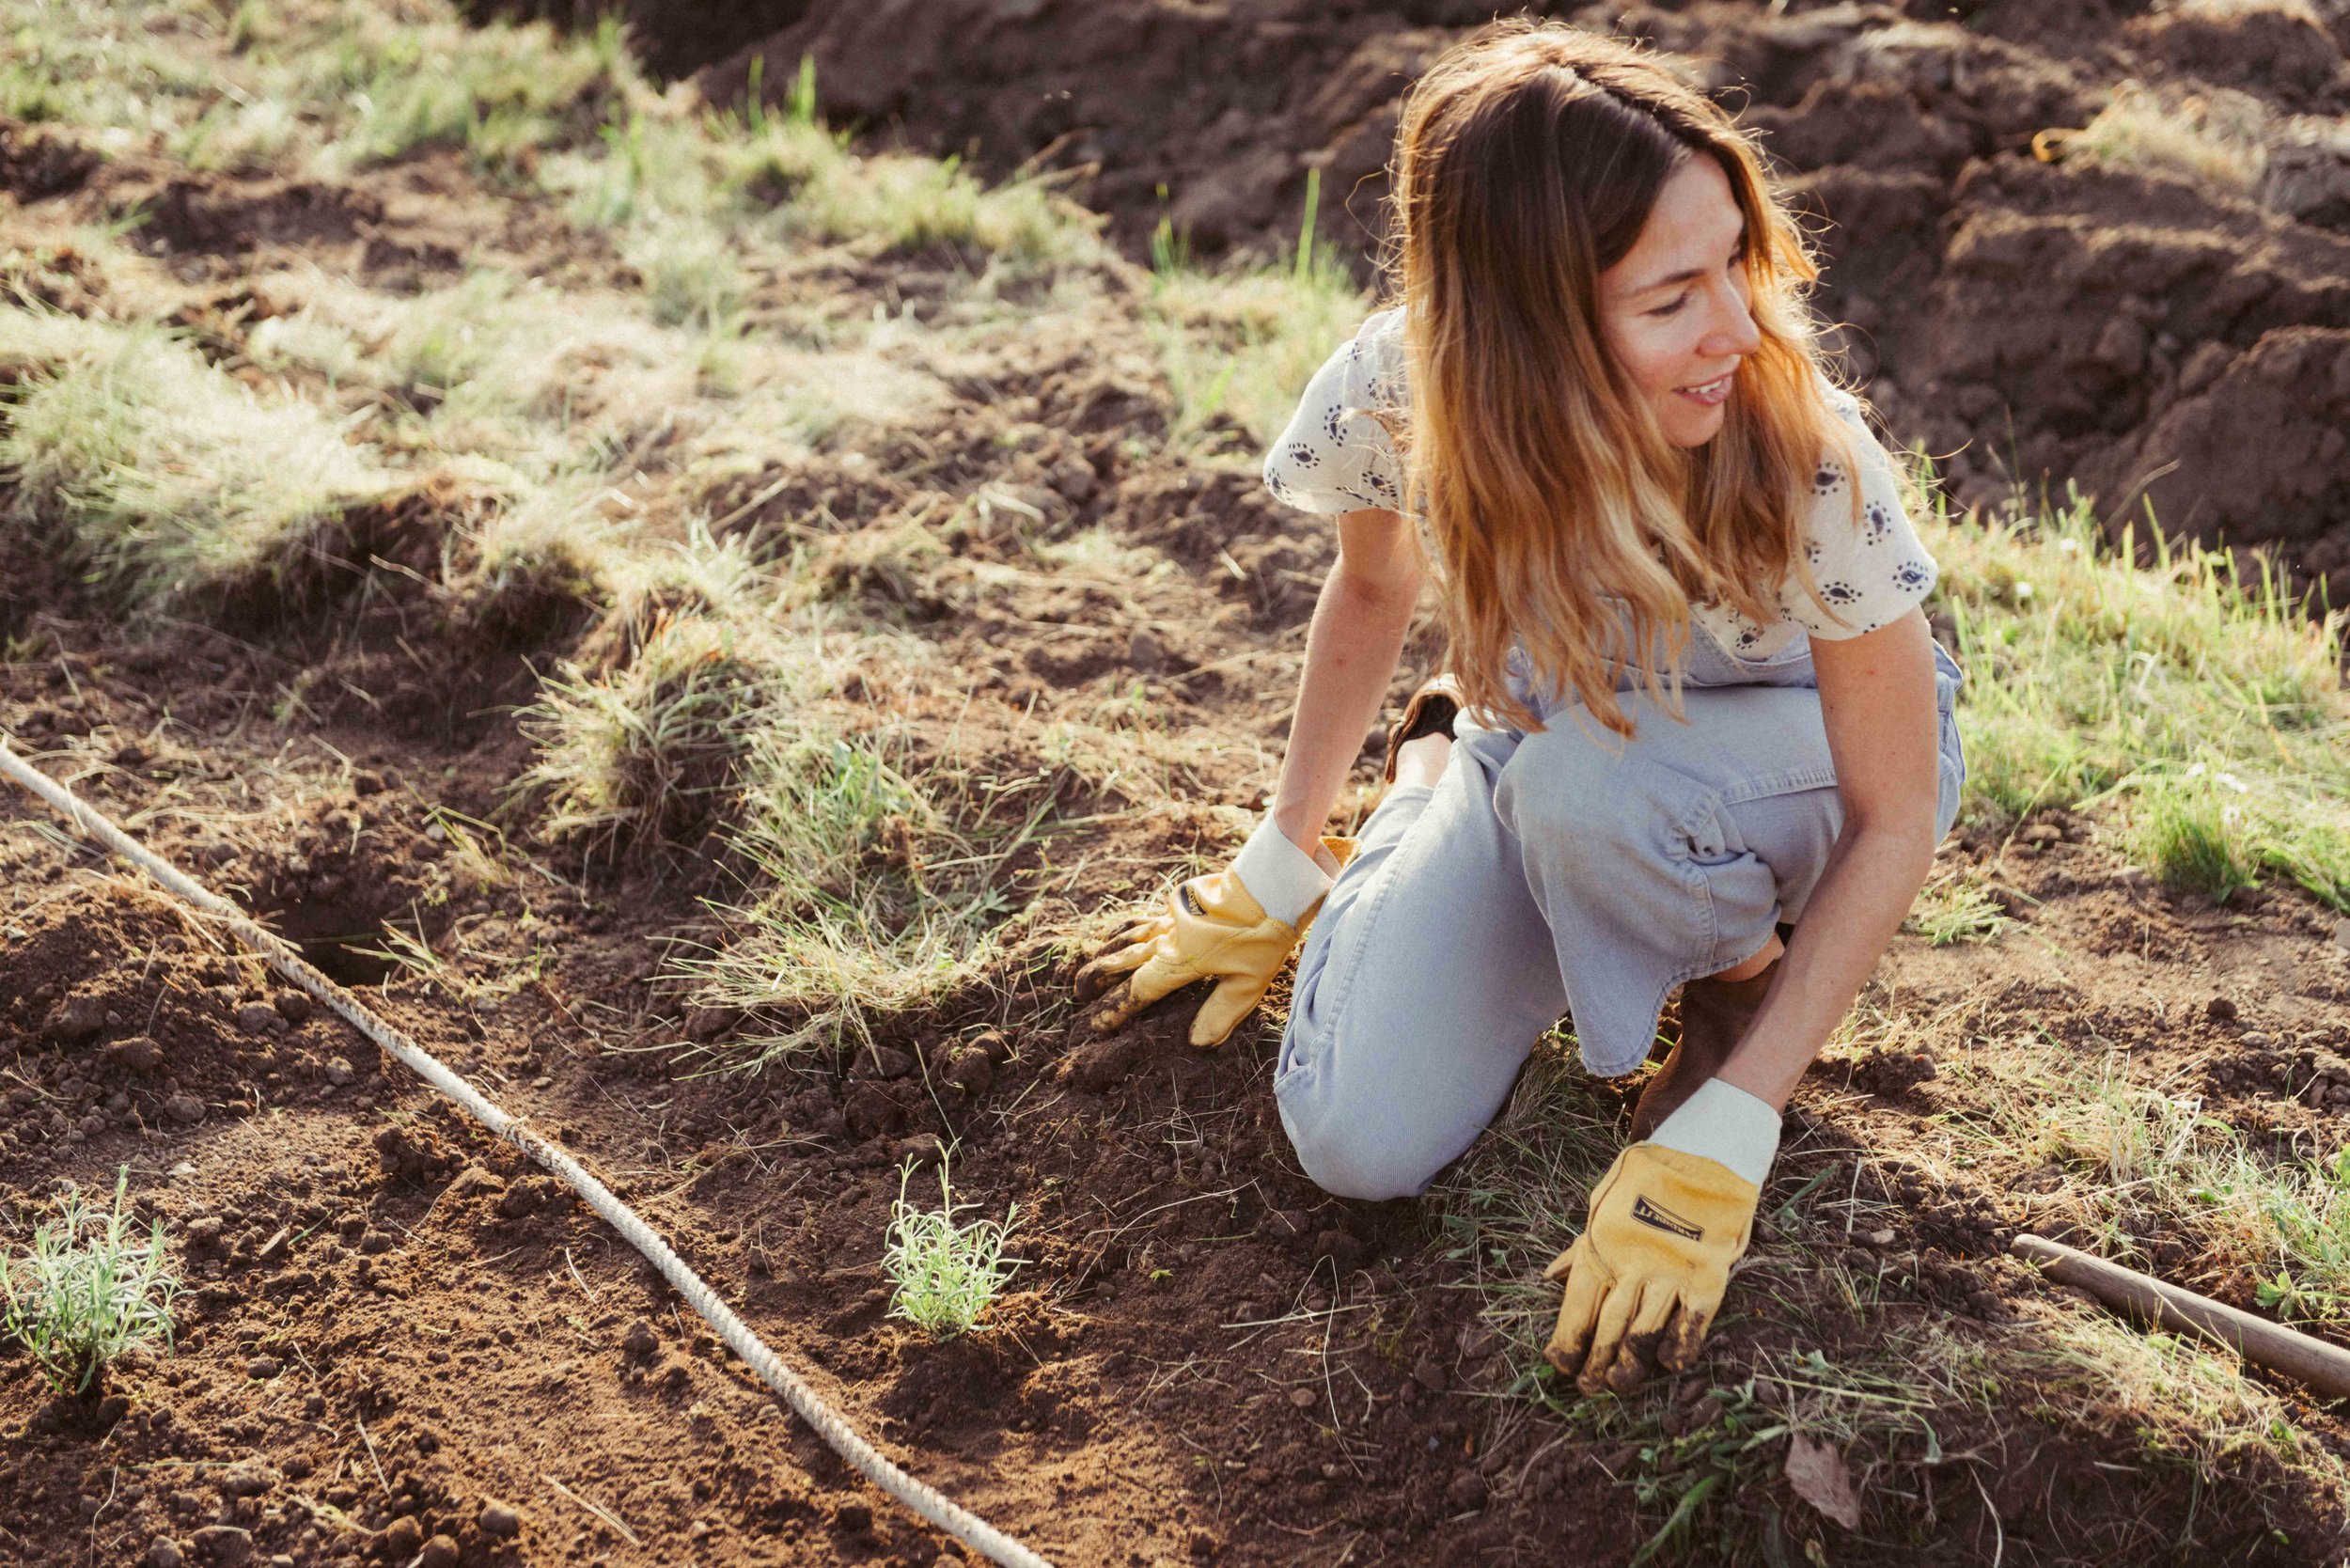
We started with evening primrose and borage which we planted in a small circular stone container we found unused on the farm. We dug up some earth from where the nettles are growing wildly and put the seedlings in their new home. Next up, the lavender bed. We purchased 27 (well, 25 but they gave us 2 extra plants for free 🙂) and planted them in a sort of zig-zag fashion to create a nice aesthetic once they grow into real bushes. Before planting them into the soil, we dipped them into a bucket of EM solution to give them a leg up for rooting themselves. Lastly, we sprinkled rock flour over the bed to give them some extra minerals.
In the adjacent bed we simply grabbed handfuls of calendula seeds and liberally sprinkled them all along the bed. They also received a dusting of rock flour and a dousing of EM solution. In both the lavender and calendula beds we planted a mullein as a sort of “bookend” at the end of the row.
In the third bed, we planted the rest of the seedlings: arnica, marshmallow, yarrow, and comfrey. In addition to the rock flour and EM solution, these also received an extra fertilizer, namely horn chips. Horn chips are ground up cattle horns and hooves from grass-fed, pasture-raised cattle that act as a slow-seeping fertilizer and last over the course of the season. The preparations, rock flour, EM, horn chips, and composting are all facets of biodynamic farming.
The rest of our herbs we had in seeds, so the blue cornflower, echinacea, and german chamomile are currently germinating. Since we have nettle and dandelion in abundance growing wildly in the field, we will leave those be as-is for now. Once we prepare more beds next season, we’ll uproot and replant them for cultivation.
Here the lavender bed is getting its finishing touches
And there we go, we are up and running! I am particularly excited to see how our botanicals grow over the summer and into the fall, especially once they are ready for harvesting and prepared for our skin. I’ll be sending out updates regularly, but follow us on Instagram (if you don’t already for some reason 😉) to get even more frequent news!
xo,
Carolina